Setting up and managing domains and DNS (Domain Name System) is essential for every website owner, as it allows you to connect domain names to your web server, manage subdomains, and control how traffic is directed to your site. Webuzo makes domain and DNS management easy, even for beginners, providing a straightforward interface for handling these crucial settings. This guide will walk you through the steps for managing domains and DNS in Webuzo.
Table of Contents
Steps to Managing Domains and DNS with Webuzo
Step 1: Log in to the Webuzo Control Panel
To start, log in to your Webuzo control panel. If you’re hosting multiple domains or setting up DNS records, you’ll need admin access to make these changes.

Step 2: Add a New Domain in Webuzo
Before configuring DNS records, add your domain to Webuzo. Here’s how:
- In the Webuzo dashboard, go to Domains > Add Domain.
- Enter your domain name in the Domain field.
- Specify the Document Root if you want the domain to point to a specific folder on your server (e.g.,
/home/user/public_html/mydomain.com). - Click Add Domain to save your settings.

Your domain will now appear in the Webuzo domains list, and you can start managing its DNS records.
Step 3: Manage DNS Records in Webuzo
DNS records define how your domain is connected to your server, subdomains, email, and other services. To access and manage DNS records:
- Go to DNS > Manage Zone Files in the Webuzo dashboard.
- Select the domain for which you want to edit DNS records.
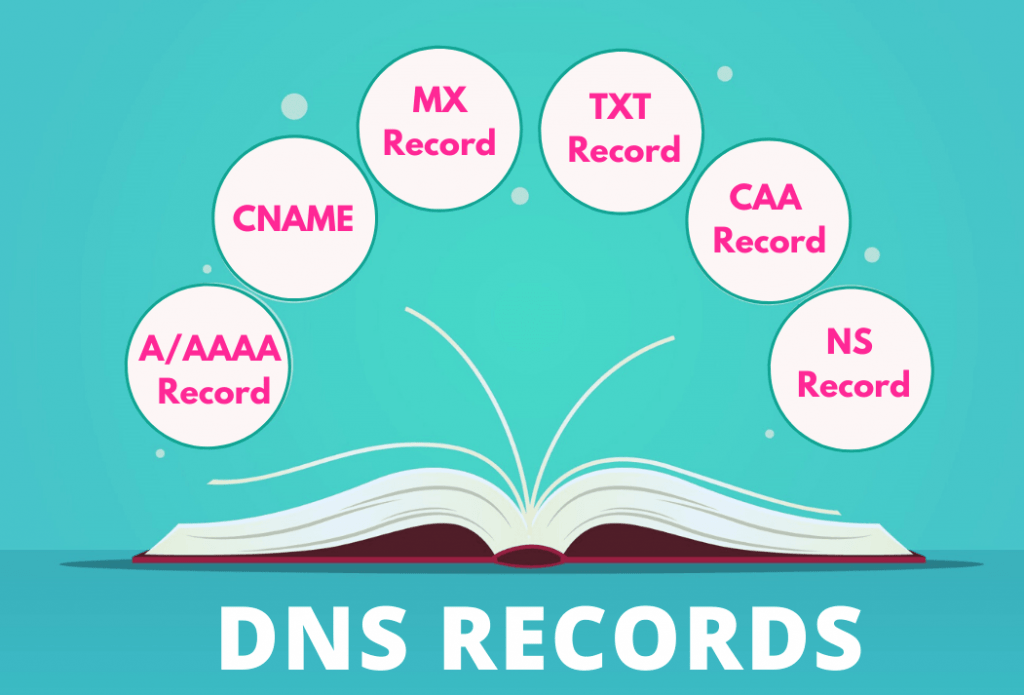
- You’ll see a list of existing DNS records, such as A, CNAME, MX, and TXT records.

Here’s an overview of commonly used DNS record types and how to set them up:
- A Record: Maps your domain to an IP address (e.g.,
123.45.67.89). This record is essential for directing visitors to your website. - CNAME Record: Points a subdomain (e.g.,
wwworblog) to another domain name. Use this when you want subdomains to resolve to the same IP address as your main domain. - MX Record: Directs email for your domain to your email server. You’ll need this record if you’re using custom email addresses like
info@yourdomain.com. - TXT Record: Allows you to add text data for various purposes, such as verifying domain ownership or setting up SPF (Sender Policy Framework) for email authentication.
To add a new DNS record:
- Click on the Add Record button.
- Choose the type of record (A, CNAME, MX, TXT, etc.).
- Enter the Name (e.g.,
@for the root domain orwwwfor a subdomain). - Fill in the Value (e.g., IP address for an A record or domain name for a CNAME).
- Click Save to apply the changes.

Step 4: Set Up Subdomains
Subdomains are an excellent way to organize different sections of your site (e.g., blog.yourdomain.com or shop.yourdomain.com). Here’s how to create and manage subdomains in Webuzo:
- In the Webuzo dashboard, go to Domains > Add Subdomain.
- Enter the Subdomain name you want to create (e.g.,
blog). - Select the Domain it should belong to and specify the Document Root if needed.
- Click Add Subdomain to complete the setup.

Once added, the subdomain will appear in your domain list, and Webuzo will automatically add the necessary DNS records. You can now use the subdomain as a separate section of your site.
Step 5: Configuring Email with MX Records
If you want to set up email addresses with your domain, you’ll need to configure MX (Mail Exchange) records. Here’s how:
- Go to DNS > Manage Zone Files in Webuzo.
- Select the domain you want to configure for email.
- Look for existing MX Records or add new ones by clicking Add Record.
- Choose MX as the record type and enter the Mail Server (e.g.,
mail.yourdomain.com). - Set the Priority level, with lower numbers indicating higher priority (usually
0for the primary server). - Click Save to apply.
You may also need to add additional TXT or SPF records for email authentication, especially if you’re using third-party email providers.
Step 6: Point Your Domain to Webuzo (DNS Propagation)
Once you’ve configured DNS records, make sure your domain is pointed to Webuzo. This process may involve updating your domain registrar’s DNS settings:
- Log in to your domain registrar’s account (e.g., GoDaddy, Namecheap).
- Go to your domain’s DNS Settings or Name Servers section.
- Update the nameservers to point to your Webuzo server’s nameservers.
- Save your changes.
It may take up to 24-48 hours for DNS propagation to complete globally, so be patient. After this period, your domain should resolve to your Webuzo-hosted site.
Step 7: Verify and Troubleshoot DNS Settings
After setting up your domain and DNS records, it’s essential to verify everything is working correctly. Here are some tools you can use:
- Ping: Run a ping test to check if your domain is resolving to the correct IP address.
- DNS Lookup Tools: Use online tools like DNS Checker or MXToolbox to verify DNS propagation and troubleshoot any issues.
- Webuzo DNS Logs: Check Webuzo’s DNS logs in the control panel to identify any errors or warnings with your DNS setup.
Tips for Managing Domains and DNS in Webuzo
- Use SSL for All Domains and Subdomains: To secure your website, ensure SSL certificates are installed for each domain and subdomain. Webuzo makes it easy to install SSL certificates through the SSL Certificates section.
- Set Up Redirects as Needed: If you need to redirect traffic from one domain or subdomain to another, use Webuzo’s Redirects feature. This is especially useful if you’re consolidating multiple domains or moving content.
- Configure Email Authentication: Protect your domain’s reputation by setting up SPF, DKIM, and DMARC records. These records help prevent email spoofing and improve deliverability for your emails.
- Regularly Monitor DNS Health: DNS settings can change over time, so it’s good practice to periodically review your DNS records to ensure everything is up-to-date, especially after any server changes.
Conclusion
Managing domains and DNS in Webuzo is straightforward, thanks to its user-friendly interface and flexible options for handling domains, subdomains, and DNS records. By following these steps, you’ll have complete control over how your domain and web traffic are directed, making it easy to scale your online presence. Whether you’re setting up a new website, adding subdomains, or configuring email, Webuzo provides the tools you need to manage it all from one centralized platform.