DNS Zone in DirectAdmin – Managing DNS zones is a crucial task for ensuring your website or domain functions correctly. With DirectAdmin, this process is streamlined and user-friendly, allowing you to easily manage DNS records without the need for deep technical expertise. In this blog post, we’ll walk through how to manage DNS zones in DirectAdmin, explaining key concepts along the way.
Table of Contents
What is a DNS Zone?
A DNS (Domain Name System) zone is a portion of the DNS database that contains information about a domain, including the mappings between domain names and IP addresses. These mappings are stored in DNS records such as A records, CNAMEs, MX records, and more. Managing your DNS zone allows you to direct web traffic, set up email services, and maintain domain security.
Step-by-Step Guide to Manage DNS Zone in DirectAdmin
1. Login to DirectAdmin Control Panel
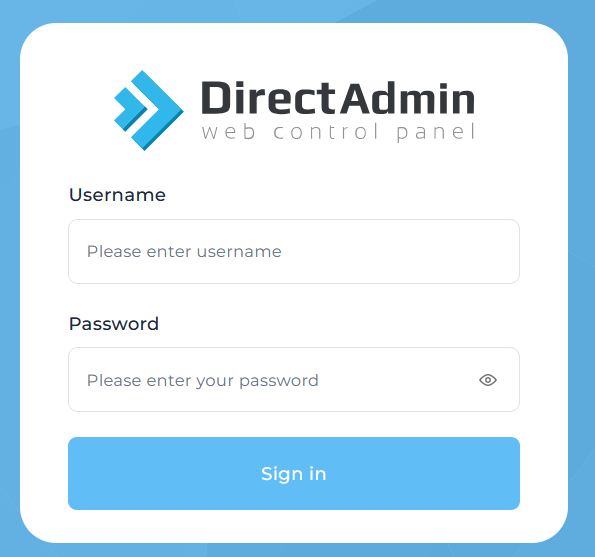
First, log in to your DirectAdmin control panel. You’ll need administrative or domain-level access to manage DNS settings. Once logged in, navigate to the DNS Management section.
- Where to find DNS Management: In the main dashboard, go to Account Manager and select DNS Management.

2. Understanding DNS Records in DirectAdmin
Before diving into specific tasks, it’s important to familiarize yourself with the types of DNS records you’ll be working with:
- A Record: Maps a domain name to an IP address.
- CNAME Record: Alias for another domain name. Often used for subdomains.
- MX Record: Directs emails to the correct mail servers.
- TXT Record: Holds arbitrary text, often used for security settings like SPF or DKIM.
- NS Record: Points to the name servers responsible for the domain.
3. Adding a New DNS Record
To add a new DNS record, follow these steps:
- In the DNS Management screen, click Add Record.
- Select the type of DNS record you want to add (A, CNAME, MX, etc.).
- Enter the required information:
- For A Records, input the domain or subdomain in the “Name” field, and the server IP address in the “Value” field.
- For CNAME Records, enter the alias in the “Name” field, and the domain you are redirecting to in the “Value” field.
- For MX Records, specify the mail server priority (lower numbers have higher priority) and the mail server’s domain.
Click Save to apply the changes. Your new record will be added and should propagate within a few hours, depending on the TTL (Time to Live).
4. Editing Existing DNS Records
To modify an existing DNS record:
- Navigate to the DNS Management section.
- Scroll down to see the list of existing DNS records.
- Find the record you wish to change and click Edit.
- Make the necessary changes, such as updating the IP address for an A Record or changing the priority of an MX Record.
- Click Save to apply the updates.
Changes to DNS records usually take time to propagate across the internet, which can range from a few minutes to 48 hours depending on the TTL settings.
5. Deleting DNS Records
If you need to remove a DNS record, follow these steps:
- In the DNS Management section, scroll down to view all records.
- Click the Delete button next to the record you want to remove.
- Confirm the deletion.
Deleting a DNS record can impact your website’s availability or email functionality, so make sure you fully understand the consequences before proceeding.
6. Managing TTL Values
The Time to Live (TTL) determines how long DNS records are cached by DNS resolvers (like your ISP’s DNS). Shorter TTLs mean changes to DNS records propagate faster, but they also increase the load on your server.
To modify the TTL for a specific record:
- In the DNS Management screen, click Edit next to the record.
- Adjust the TTL value according to your needs. For example, set it to 300 seconds (5 minutes) if you anticipate making frequent changes.
- Click Save to apply the updated TTL.
7. Setting Up SPF, DKIM, and DMARC Records
Security-related DNS records like SPF (Sender Policy Framework), DKIM (DomainKeys Identified Mail), and DMARC (Domain-based Message Authentication) are crucial for email authentication and preventing spam.
- SPF Record: Add a TXT record that specifies which servers are allowed to send emails on behalf of your domain. Example:
v=spf1 a mx include:_spf.google.com ~all. - DKIM Record: Requires generating a public/private key pair and adding the public key as a TXT record.
- DMARC Record: Add a TXT record with policies on how to handle emails that fail SPF or DKIM validation.
These settings can often be configured directly from your email provider, which will give you the exact DNS entries to add.
8. Checking DNS Propagation
After making any changes to your DNS records, it’s a good idea to check the DNS propagation to ensure the updates have taken effect. You can use tools like DNSChecker.org or WhatsMyDNS.net to verify that your new DNS settings are live globally.
Conclusion
Managing DNS zone in DirectAdmin is a straightforward process, but it requires a clear understanding of how DNS records work. With this guide, you should be able to confidently add, modify, or delete DNS records, as well as handle advanced configurations like setting up SPF or DKIM records for email authentication. By properly managing your DNS settings, you’ll ensure that your website runs smoothly and that your email traffic is secure and reliable.
For further assistance or troubleshooting, don’t hesitate to consult your hosting provider
DNS Zone in DirectAdmin DNS Zone in DirectAdmin DNS Zone in DirectAdmin DNS Zone in DirectAdmin DNS Zone in DirectAdmin DNS Zone in DirectAdmin DNS Zone in DirectAdmin


