
Email AutoResponder in cPanel feature allows you to automatically send reply messages in response to incoming emails received on a specific email account. This is very useful when you want to notify customers with a proper response in a timely manner that you have received their email when you are on holiday or unavailable, or if you have any other generic messages to send.
Table of Contents
This guide is to help you configure e-mail autoresponders in cPanel so your email account (mailbox) can send reply messages automatically.
What is Email AutoResponder?
An Email AutoResponder is a feature that automatically sends a predefined response to incoming emails, providing an immediate acknowledgment or information to the sender. This tool is especially useful when you are away, on vacation, or unable to respond to emails promptly. Instead of leaving your email inbox unattended, an autoresponder ensures that anyone who contacts you receives a quick response.
The AutoResponder can be set up with a personalized message, such as an out-of-office notification, information about your availability, or any other message you want to convey to the sender. It helps in managing communication expectations and lets people know that their email has been received even if you’re not able to respond immediately.
In the context of cPanel, which is a popular web hosting control panel, users can easily set up and manage Email Autoresponders for their email accounts associated with the hosted domains. This feature adds a layer of convenience and professionalism to email communication by automating responses during specific periods or circumstances.
How to Add an Email Autoresponder in cPanel
You can set more than one autoresponder for the same account. To add an autoresponder in cPanel, follow these steps:
Note:
It is not possible to create a general autoresponder for all email accounts under a certain domain. You will need to create a separate autoresponder per each mailbox.
Step 1: Log in to cPanel

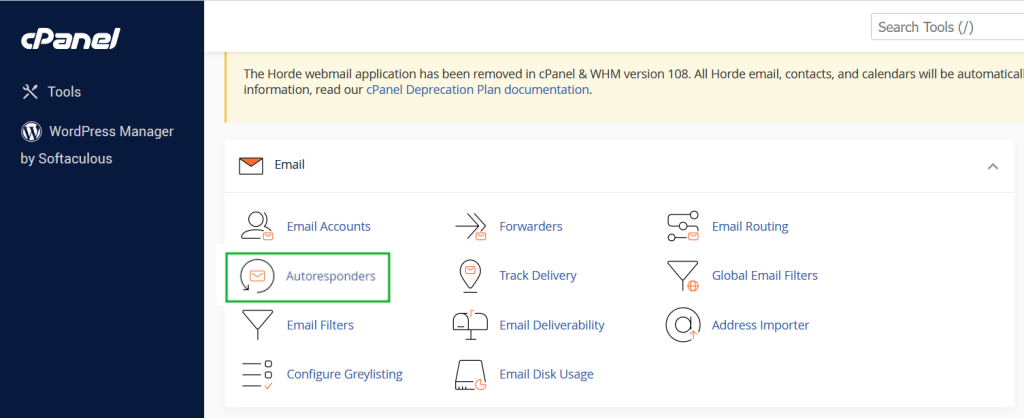
Step 2: In the Email section, click on Autoresponders
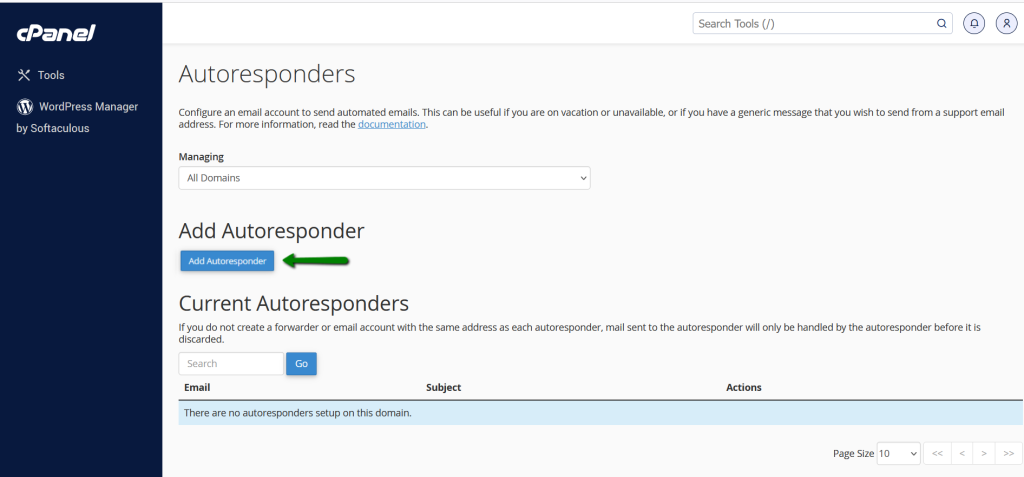
Step 3: Click on Add Autoresponder and proceed to the next screen
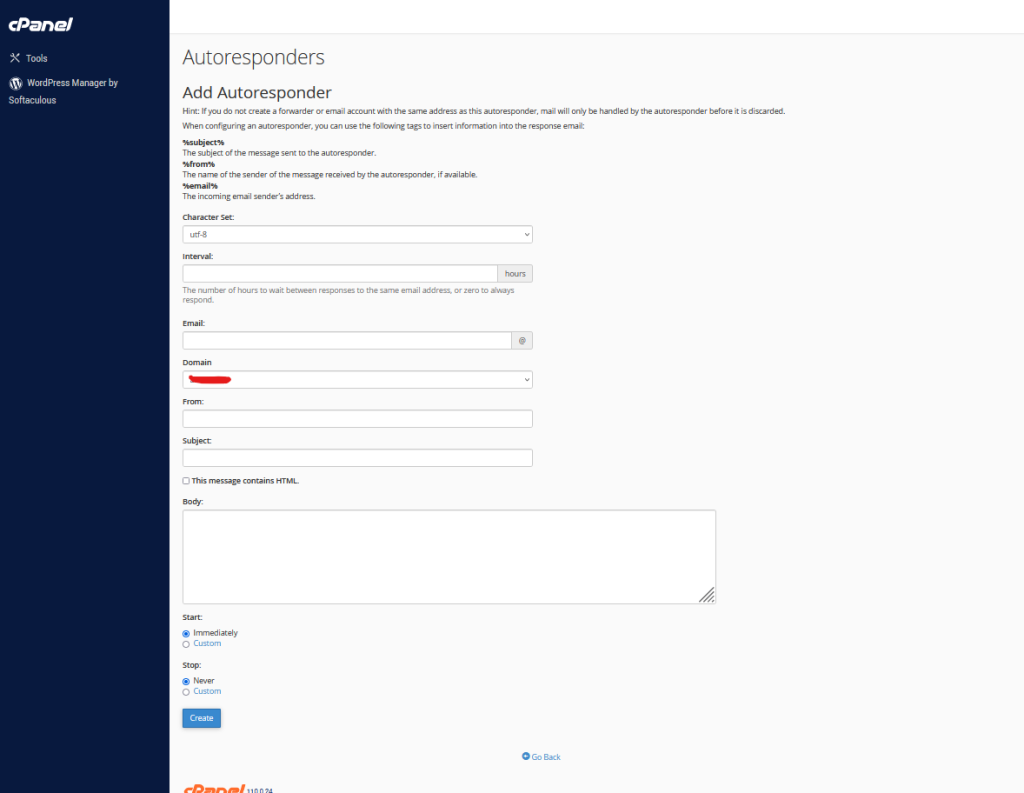
Step 4: Let’s see the fields you will need to fill in to create an Autoresponder
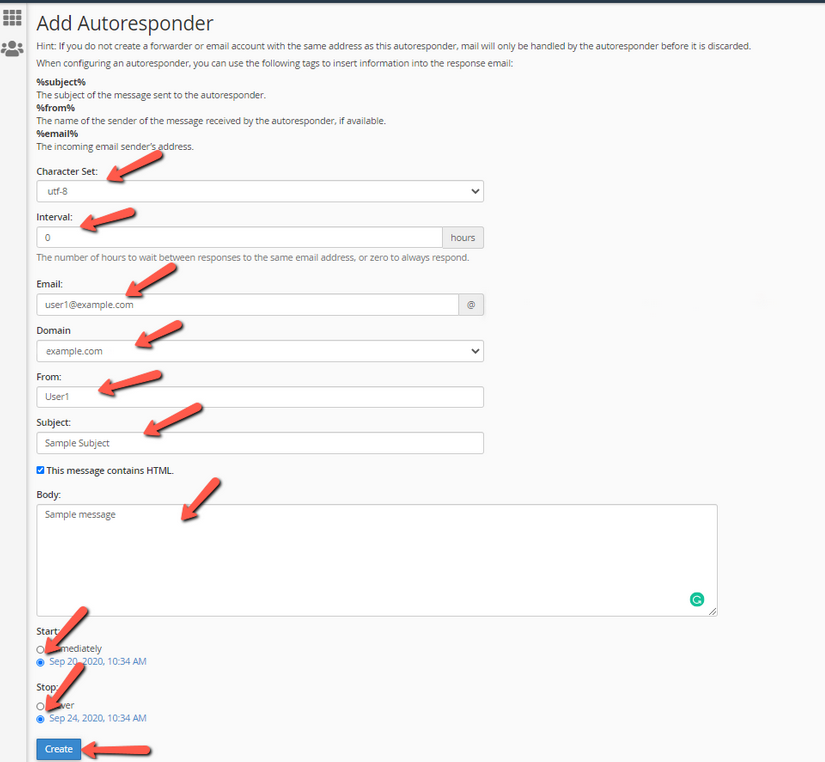
Choose character set: UTF-8 is a default value as it’s the most common character set Internet users deal with. It’s not recommended to change this parameter
Interval: specify the interval you wish for the Auto Responder to wait between sending response messages to the same email address
For example, if your auto responder is set to 12 hours, and you get an email from Lucie at 10 am, an automatic reply gets sent immediately. If this same Lucie keeps on sending you emails during the day because she misses you so much, your auto responder will cruelly not send her any automatic response for 12 hours after her initial email (in this case, 10 pm the same day). If she emails you again after 10 pm, she will receive another merciful response.
Note, that if the interval is set to 0, cPanel sends an auto response to each email.
Email: choose the email address you want to send automatic messages from
From: enter the name you want to appear in the response message
Subject: enter the subject you want to show up in the response message
HTML: check the box if your message includes HTML tags
Body: enter the text of your response, you can include tags in the message body, refer to the on-screen tips for suggestions
Start time: you can choose Immediately or Custom
If you select Custom, a small calendar will appear. Choose the preferred date and time using the calendar and the drop-down menu. Then click anywhere outside of the calendar box to save the configuration and to close the calendar. Your chosen date and time will appear next to the Start option.
The time is based on your device operating system time and automatically translated into GMT. Please mind that if your device time is wrong, the time chosen on the calendar will be also wrong. cPanel auto responder also uses a 12-hour format and will reformat times written in 24-hour notation. For example, if you write 16:30 as the start time, cPanel will automatically reformat it to be 4:30 PM when you save and close the calendar.
Stop time: you can choose Never or Custom
If you select Custom, a small calendar will pop up. Choose the preferred date and time using the calendar and the drop-down menu. Finally, click X to exit out of the calendar. You must to choose a stop time that is later than the start time:
How to Edit an Email Autoresponder in cPanel
You can edit an autoresponder if you want to modify the response contents or account details.
To edit an autoresponder in cPanel, follow the steps below:
- Log in to cPanel;
- Again, in the Email section of the cPanel home screen, click Autoresponders:
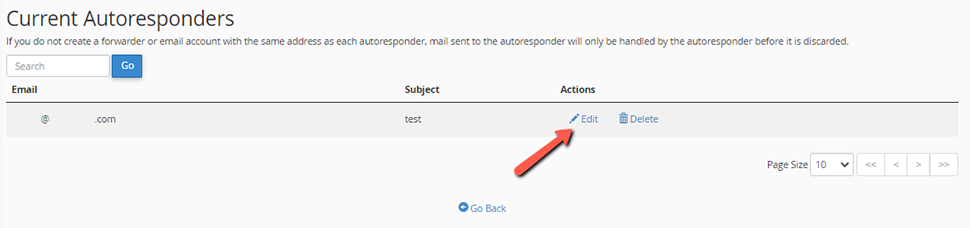
- Under Current Autoresponders, locate the autoresponder you want to edit;
- Click Edit:
- Make your changes to the autoresponder;
- Click on Modify for cPanel to update your autoresponder;
How to Delete an Email Autoresponder in cPanel
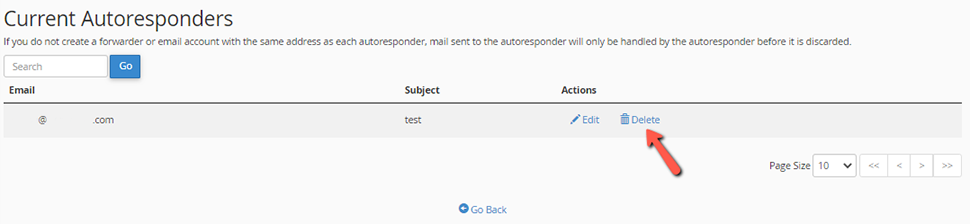
When you no longer need your autoresponder, you can delete it. Under Current Autoresponders, locate the autoresponder that you want to delete, and then click Delete:
Conclusion
Autoresponders are important if you want to be as professional as possible when communicating with your business associates. We hope this post is helpful when configuring the autoresponder function for your self-hosted email.