Table of Contents
Managing DNS records is a crucial aspect of maintaining your website’s functionality and ensuring that your domain resolves correctly to the appropriate servers. cPanel provides a user-friendly tool called Zone Editor that allows you to easily add, edit, and manage DNS records for your domain. In this guide, we will walk you through the process of adding and editing DNS records in cPanel Zone Editor.
DNS Zone Functions(DNS records)
The following information will assist you in understanding the purpose of each DNS zone.
Name Servers
The name servers assist in finding the server and correct DNS zone for a domain to get the information on the other DNS zone records. Name servers translate domain names into IP addresses and tell the internet where to look for a domain’s IP address.
If a domain was purchased from domainregistrationindia and we’re your current registrar, you can update your name server within your Customer Portal.
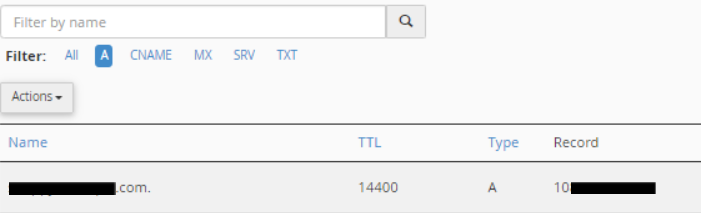
A Record
The A (address) record connects the domain to an IP address. This is one of the primary records used in DNS servers, and one of its functions is to tell us where a website is hosted.
What does it look like?
Where do I find my domain’s IP address?
Depending on your host, you can find the IP address assigned to your domain in a control panel. For domainregistrationindia, you can find it within your Customer Portal and cPanel.
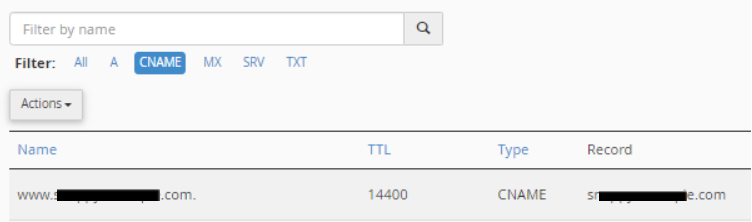
CNAME Record
The CNAME (canonical name) records are used to alias a domain or subdomain to another. It points subdomains to another domain name like www and mail and never directly to an IP address.
What does it look like?
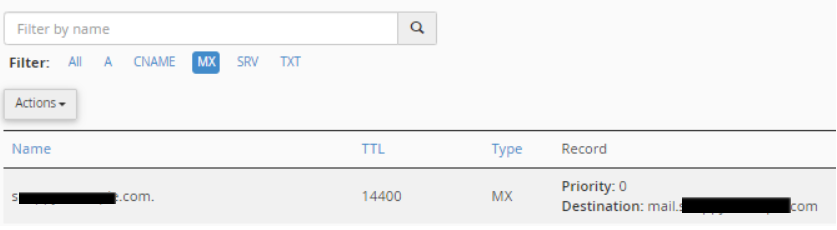
MX Records
The MX (mail exchange) records control where emails are received. They basically tell your server where to deliver your emails. Depending on your email host, MX records vary.
Setting up your emails requires the following:
- MX record – Your preferred email host will provide this (usually referred to as the “destination”).
- Mail’s A record – This is the IP Address pointing to your preferred email host.
- Email routing – This is your email delivery method.
If your domain uses domainregistrationindia’s name servers, your emails are automatically set up to use our servers.
What does it look like?
For more information about MX records, you can visit the article, How to Set Up Your MX (Mail Exchange) Record.
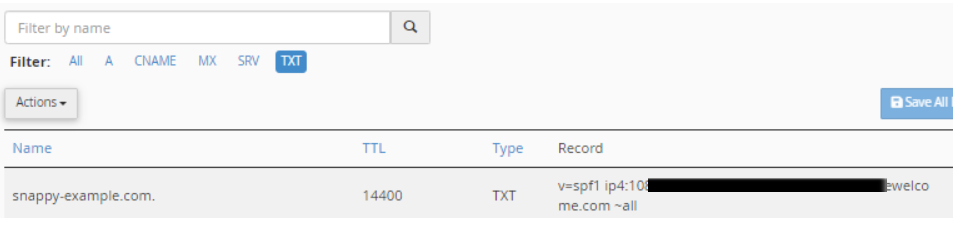
TXT records
The TXT records are custom records that contain machine-readable data. TXT records must be formatted according to whichever technology you use. One of its purposes is validating ownership. A provider may require you to add a TXT record in your control panel to prove ownership of your domain.
What does it look like?
Managing DNS records using cPanel zone editor
1. Accessing cPanel Zone Editor:
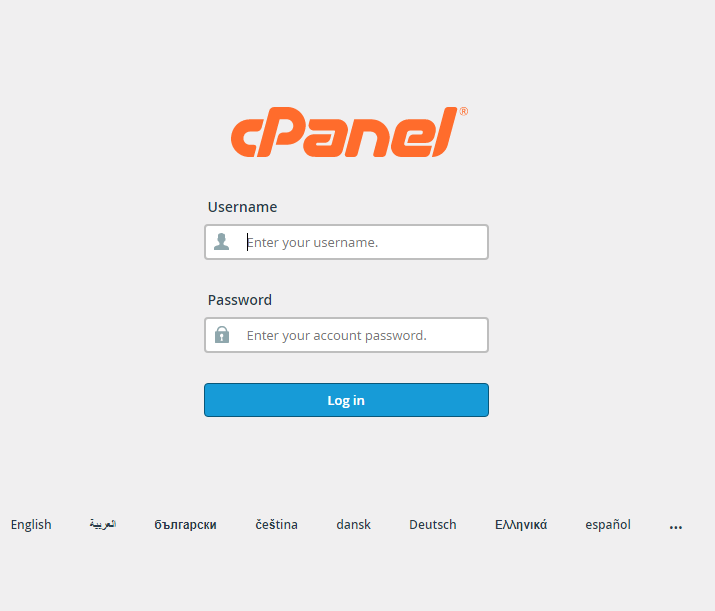
Step 1: Log in to cPanel using your cPanel username and password
cPanel login URL is usually like this -> https://yourdomain.com/cpanel
(Make sure to replace the yourdomain.com with the original domain name)
In your cPanel dashboard, find the “Domains” section or search “Zone Editor” and click on that.

It will navigate to another page. There from the drop-down menu, select the domain for which you want to add a DNS record. If it is a single account, you will see the domain name directly on that page.
Next, click on the “Manage” button next to the domain name.
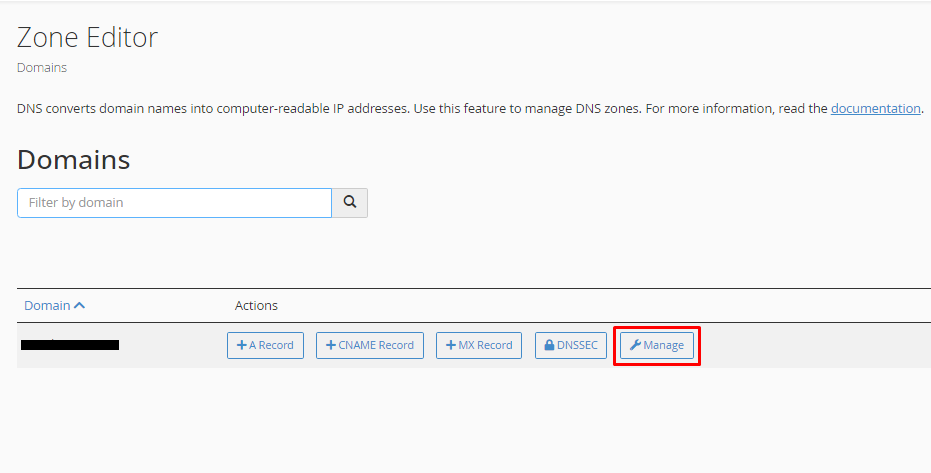
A new window will open. There you will see the default DNS records that are provided by your hosting provider.
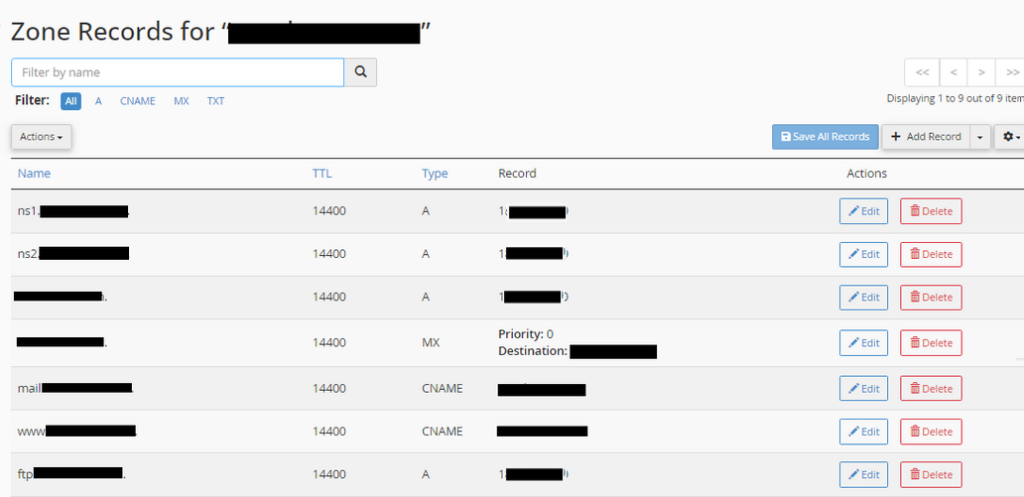
(Note: Before making any major DNS changes, consider taking a screenshot or note of your existing records to ensure you can revert if necessary.)
2. Adding a New DNS Record:
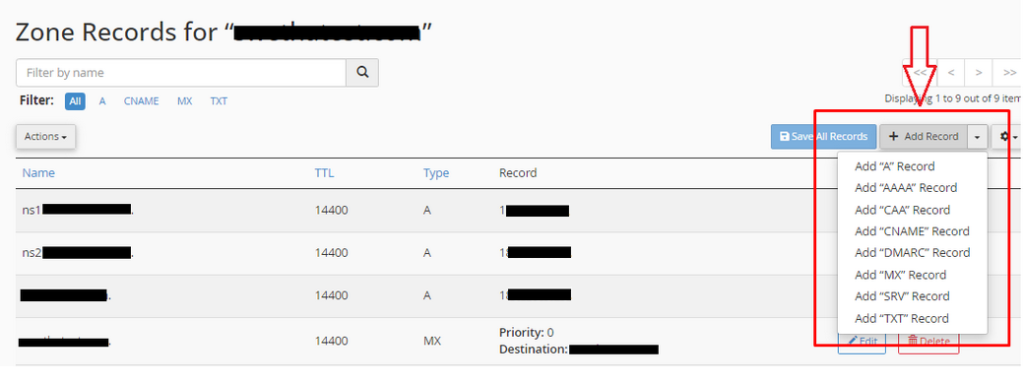
To add a new DNS record, click on “Add Record” on the right-hand side.
Select the type of DNS record you want to add from the options provided (A, AAAA, CNAME, MX, TXT, SRV) from the list.
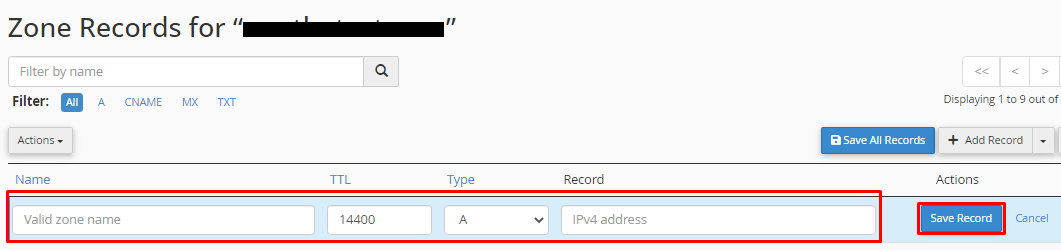
Fill in the required information such as the name, destination IP address, priority for MX records, text values for TXT records, etc. as per your requirement.
Once you’ve entered the required details, click the “Save Record” button to save the updated new record.
3. Editing an Existing DNS Record:
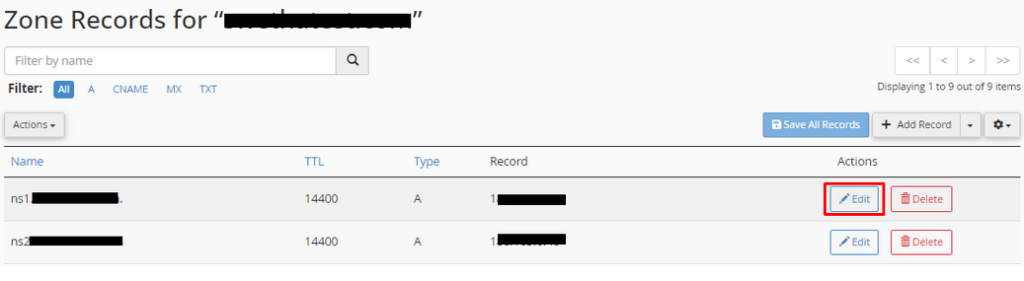
Search and find the DNS record that you wish to edit in the list and click the “Edit” option next to the record.
Update the necessary details of the DNS record and values.
After making the desired changes, click the “Save Record” button to apply the edits to the DNS record.
4. Deleting a DNS Record:
Locate the DNS record you want to remove and click the “Delete” option next to it.
Next, a confirmation prompt will appear. Confirm the deletion to remove the DNS record.
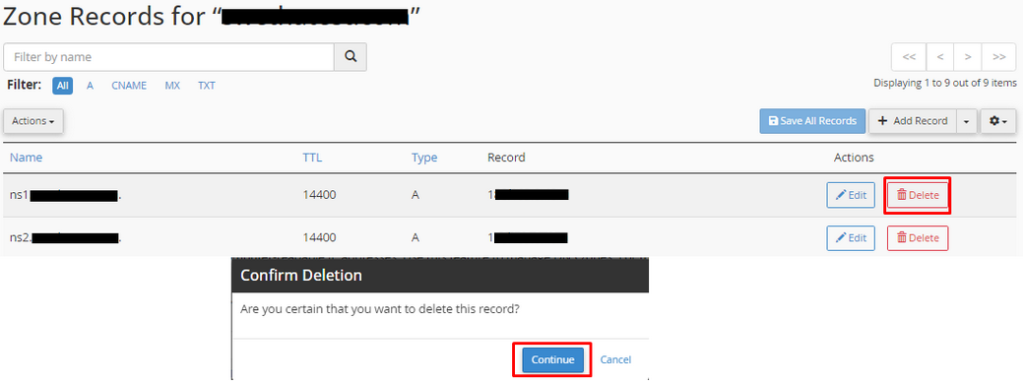
Make sure to click the “Save Record” button to finalize the deletion.
Once you are done adding or editing the DNS records, you have to wait for some time to know if it works or not, because it will be under propagation.
Changes typically propagate within 24 to 48 hours, although some ISPs might update their records faster.